 ultimate-guide
Compact Dirt Work Best Practices: A 2026 Guide
Table of Contents
- Understanding Soil Compaction Principles
- How to Compact Soil: Material Preparation and Conditioning
- Soil Moisture for Compaction: Conditioning Strategies
- Compaction Equipment for Soil: Selection and Use
- Soil Compaction Testing and Acceptance Criteria
- Small-Site Dirt Work Workflow and Troubleshooting
- Frequently Asked Questions
Last Updated: October 5, 2026
Understanding Soil Compaction Principles
Soil compaction densifies soil through mechanical force to increase load-bearing capacity and stability. Pressing particles closer together reduces air voids, improving shear strength and reducing settlement risk for any structure built on that soil.
How densification works depends on soil type, moisture content, and equipment. Compaction rearranges particles into a tighter configuration rather than crushing them, and the degree achieved is measured by comparing in-place density to maximum laboratory density. Understanding this principle is essential for compact dirt work success.
How Densification Works
Compaction applies mechanical energy through vibration, impact, or rolling, shifting soil particles into a denser arrangement. Each pass removes more air voids, but the relationship between effort and density gain is not linear; beyond a certain point, additional passes yield diminishing returns.
Moisture is critical: too little and particles cannot move freely enough to pack optimally, too much and water occupies space that should hold soil particles. The sweet spot, optimum moisture content, is where maximum density is achieved with a given compaction effort.
Soil Type and Suitability
Not all soil types compact equally. Granular materials like sand and gravel drain freely and compact easily, and well-graded material compacts more effectively than poorly-graded because smaller particles fill voids between larger ones.
Clay-rich soils have higher plasticity and require precise moisture conditioning. Over-compacted clay can become impervious, trapping water and creating drainage problems, and the plasticity index directly influences how aggressively you can compact it.
For small-site work, know your soil type before starting equipment.
How to Compact Soil: Material Preparation and Conditioning
Preparation separates successful compact dirt work from failed attempts: assess the site, over-excavate if necessary, and stage and condition materials before equipment touches the ground.
Granular versus Clay-Rich Materials
Granular materials, sand, gravel, and well-graded blends, are easiest to work with. They drain freely, so excess moisture doesn't trap air, and a standard plate compactor or vibratory roller achieves target density in fewer passes.
Clay-rich soils compact well only within a narrow moisture window: too dry and the soil resists compaction, too wet and it moves sideways instead of densifying.
For mixed soils, compact dirt work requires knowing which component dominates: a 60% granular, 40% clay mix behaves like granular soil, while a 40% granular, 60% clay mix behaves like clay-rich soil.
Lift Thickness and Layered Placement
Placing soil in thin lifts is one of the most overlooked best practices in compact dirt work.
Optimal lift thickness depends on equipment and soil type: plate tampers work well with 4-inch lifts, vibratory rollers handle 6 to 8 inches, and heavier equipment can manage slightly thicker lifts, but thinner lifts always achieve better overall compaction.
Layered placement also improves drainage and prevents uneven burial of organic matter or topsoil.
Soil Moisture for Compaction: Conditioning Strategies
Moisture conditioning is where compact dirt work theory meets practice, and getting it right can mean the difference between five passes and fifty.
For granular materials, conditioning is often minimal, light watering and mixing if too dry.
On small sites, water-condition material the day before compaction so moisture penetrates and distributes. On compaction day, the "ball test", a firmly squeezed handful holds together without sticking excessively to your hand, indicates readiness.
Plan drainage alongside moisture conditioning, since compacted soil that traps water becomes unstable.
Compaction Equipment for Soil: Selection and Use
Equipment selection depends on site size, soil type, access, and target density. The wrong tool wastes time and money; the right one makes compact dirt work efficient and effective.
Plate Tampers and Small-Equipment Use
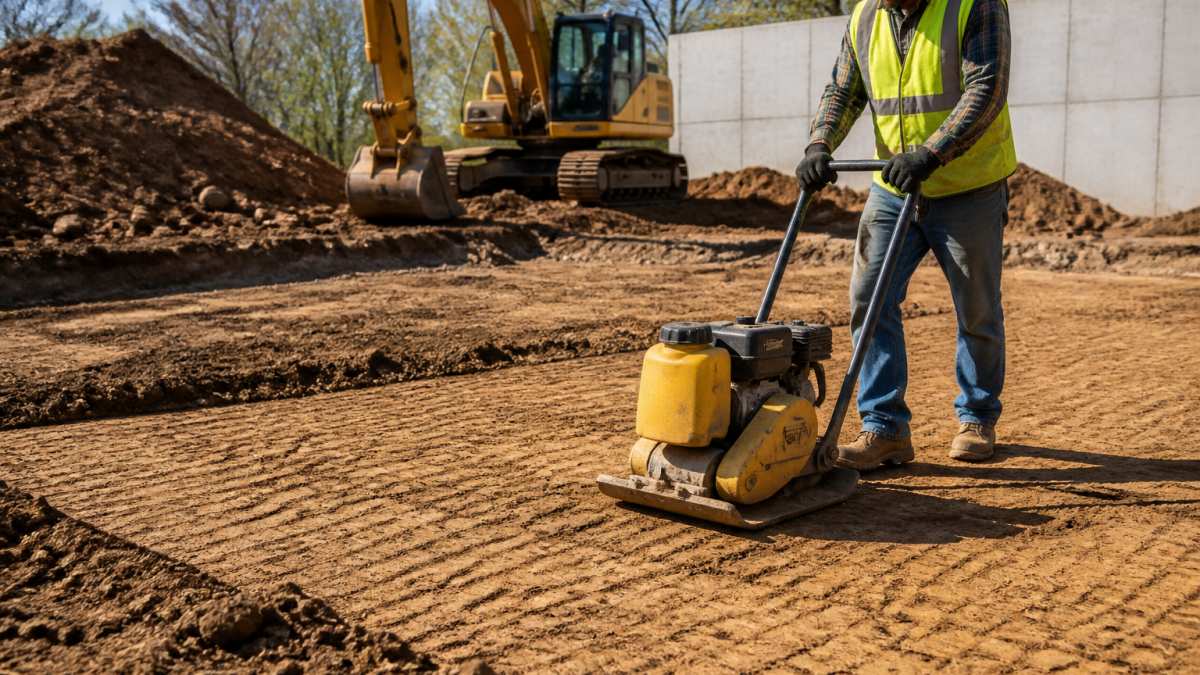
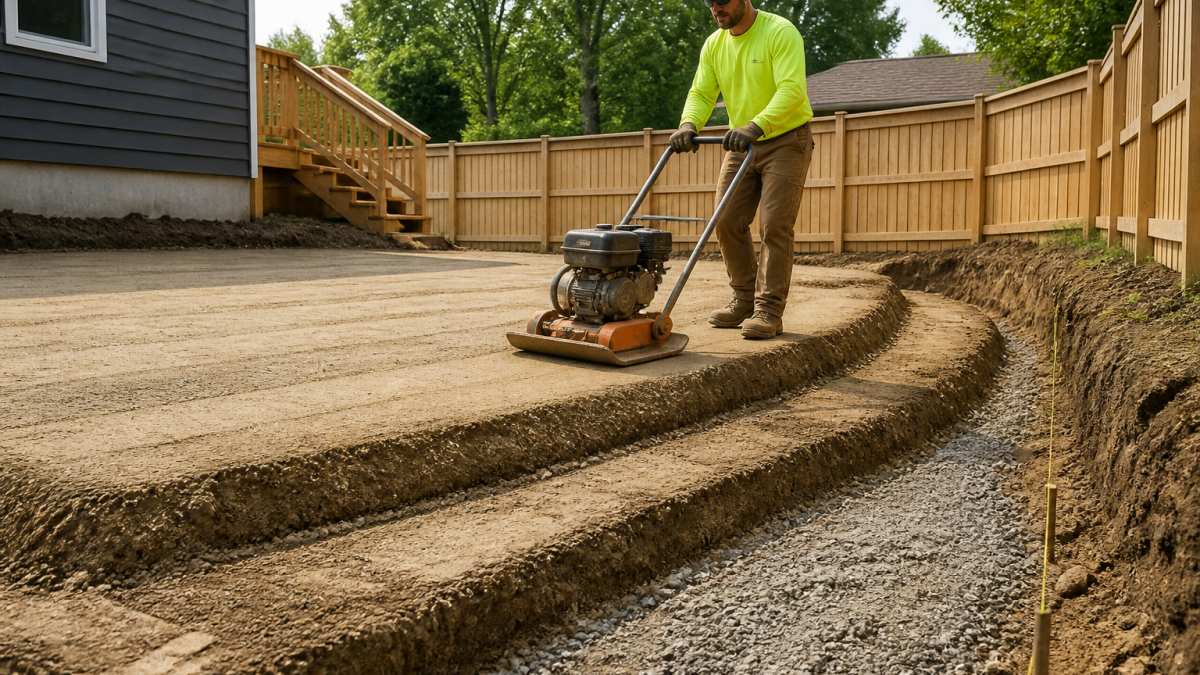
Plate tampers (plate compactors) are ideal for confined areas, residential sites, and small lifts. They apply downward impact force to drive particles into denser arrangements, working on granular and clay-rich soils where larger equipment cannot fit.
Plate tampers typically weigh 200 to 400 pounds and run with one operator.
Small-equipment use on constrained sites requires planning: mark utilities before bringing equipment on site and stage soil nearby to minimize movement. For very small areas, hand-operated tampers or a hand-held rammer may be necessary, though these are slower and labor-intensive.
Roller Types and Heavy Equipment
Vibratory rollers are the workhorse of larger compact dirt work projects, combining weight and vibration for high density efficiently.
Smooth-drum vibratory rollers work well on granular material and are often used as the final pass to create a finished surface.
Very small sites may need only a box blade behind a small tractor plus a hand-operated plate compactor.
Access matters too: a narrow residential driveway may accommodate only a plate tamper, while an open commercial site can use a vibratory roller.
Soil Compaction Testing and Acceptance Criteria
Compact dirt work without testing is guesswork. Testing confirms compaction meets project requirements and prevents costly rework or failure after completion.
Field Testing Methods
The sand cone test is the most common field method for in-place density.
The nuclear density gauge is faster but requires trained operators and radiation safety protocols.
The drive cylinder method pushes a thin-walled cylinder into soil to a fixed depth and weighs the soil inside, simpler than sand cone testing but slightly less accurate.
For small sites, sand cone testing is typically sufficient and cost-effective. Larger projects benefit from initial sand cone tests for baseline data followed by periodic nuclear density checks, providing good coverage without excessive cost.
Compaction Standards and Pass/Fail Thresholds
Most projects specify compaction as a percentage of maximum laboratory density: typically 90%, 95%, or 100% depending on application.
The specification should be clearly stated in project documents before work begins. If no specification exists, 95% of maximum density is a reasonable default for most compact dirt work.
Testing locations should be distributed across the compacted area, typically one test per 1,000 to 2,000 square feet for critical areas. Results are plotted and reviewed to ensure the entire area meets specification.
Small-Site Dirt Work Workflow and Troubleshooting
A systematic workflow prevents common mistakes and keeps compact dirt work on schedule and within budget.
Site Assessment and Over-Excavation Planning
Begin every project with a thorough site assessment. Identify soil type through visual inspection or simple testing. Check for utilities, call the utility locating service before any excavation begins.
Over-excavation is often necessary. If unsuitable soil (organic matter, topsoil, or soft clay) exists at the site, it must be removed and replaced with compactible material.
Plan finished grades to promote drainage. Slopes should be at least 2% (a drop of 2 feet per 100 feet of horizontal distance) to move water away from structures.
Safety, Utilities, and Drainage Considerations
Compact dirt work involves heavy equipment and excavation, both hazardous. Ensure all operators are trained and follow equipment manufacturer guidelines. Mark all utility locations before equipment arrives.
Drainage planning is not optional. Compacted soil that traps water becomes unstable and may settle or fail. Install subsurface drainage if the site has poor natural drainage. Surface drainage, sloped grades, swales, or ditches, directs water away from the compacted area.
For residential projects, ensure compaction doesn't interfere with planned utilities like septic systems, drainage fields, or underground storage. Coordinate with other trades early to avoid conflicts.
Common Compaction Problems and Solutions
Spongy soil after compaction, The most common problem is inadequate compaction or insufficient lift thickness.
Uneven settlement, Caused by variable soil type or inconsistent compaction.
Water pooling on compacted surface, Usually a grading problem. Solution: check finished grades against plans, identify low spots, and re-grade. Ensure drainage swales or ditches are functioning.
Equipment bogging down, Indicates moisture is too high or soil is unstable.
Early planning, proper moisture conditioning, and systematic testing prevent most problems. When issues do arise, systematic troubleshooting, identifying root cause rather than applying quick fixes, resolves them permanently.
Compact dirt work is a foundation for any construction project, but it's often rushed or under-estimated in planning and budget. At Riverbend Co, we bring systematic expertise to every compact dirt work project, ensuring finished grades meet specifications, stay on schedule, and remain stable for years to come. American Society of Civil Engineers guidelines on soil compaction and ASTM standards for soil compaction testing provide detailed technical specifications if you need deeper reference material.
Frequently Asked Questions
What is the most effective way to compact dirt?
The most effective compact dirt work combines proper material selection, moisture conditioning, and equipment choice. Start with well-graded granular material or soil-cement mixtures. Condition soil to optimal moisture content (typically 2-4% above the standard Proctor moisture), place in thin lifts (4-8 inches), and apply the right equipment, plate tampers for confined areas, rollers for open sites. Make multiple passes until soil reaches target density, typically 95% of maximum dry density.
How does soil moisture affect compaction?
Soil moisture is critical to compaction success. Too dry, and particles won't bond; too wet, and the soil becomes spongy and unstable. The optimal moisture content, called the standard Proctor moisture, varies by soil type. Wetting and drying cycles before compaction improve material workability. Granular materials tolerate wider moisture ranges than clay-rich soils. Field conditions and seasonal weather require real-time moisture assessment; many projects benefit from water trucks or drying time to achieve the sweet spot for maximum density and shear strength.
How do you know when soil is compacted enough?
Compaction testing confirms adequacy. Standard methods include the sand cone test, nuclear density gauge, or dynamic cone penetrometer. Most specifications require 95% of maximum dry density. Visual signs, firm, non-spongy surface with no movement under foot traffic, indicate progress, but field testing is the only reliable verification. Acceptance criteria depend on the project: foundation preparation may require 98%, while grading for drainage can accept 90%. Always test before and after compaction to confirm compliance.
What equipment is best for compacting different types of soil?
Equipment choice depends on site access, soil type, and lift thickness. Plate tampers (vibratory or rammer style) work best in confined areas, trenches, and under structures where larger rollers can't fit. Sheepsfoot rollers excel on clay-rich materials, breaking up clods and improving bonding. Box blades and ripper teeth prepare material by breaking up organic matter and over-excavated zones. Granular materials compact efficiently with vibratory plates or drum rollers. Small sites typically favor plate tampers; larger open areas benefit from walk-behind or towed rollers. Always match equipment to soil type and site constraints.
How thick should each soil lift be before compaction?
Lift thickness directly affects compaction quality. Standard practice calls for 4-8 inch lifts, depending on equipment and soil type. Thinner lifts (4-6 inches) are safer for clay-rich or plastic soils and allow better moisture penetration. Granular materials tolerate thicker lifts (6-8 inches). Never exceed 12 inches; compaction equipment cannot reliably densify material beyond that depth. Multiple thin lifts with thorough compaction between each yield higher density and more stable finished grades than fewer thick lifts.
What is the difference between 90%, 95%, and 98% compaction?
Compaction percentages refer to density achieved relative to maximum dry density in the laboratory. 90% compaction is suitable for grading and non-critical backfill; 95% is the standard for foundation preparation and structural support; 98% is required for critical infrastructure and high-traffic areas. Higher percentages mean denser, more stable soil with greater shear strength and resistance to settlement. The cost and effort to achieve 98% versus 95% increases significantly; specification depends on project type and load requirements.
What should you do if soil won't compact properly?
Compaction resistance usually signals moisture, material, or debris issues. First, verify moisture content, adjust with water trucks or drying time. Second, inspect for organic matter, roots, or compost in the lift; over-excavate and replace with clean, well-graded material. Third, confirm equipment is appropriate for soil type and site access. Fourth, check lift thickness; reduce if material is too thick to densify. If problems persist, conduct a compaction test to diagnose whether the soil type itself is unsuitable; some highly plastic clays require soil-cement treatment or replacement.
How do you protect utilities and plan drainage during compact dirt work?
Before excavation, call 811 to locate underground utilities (electrical, gas, water, communications). Mark all lines on site and maintain clearance during digging and compaction. Plan drainage by assessing the water table and existing site hydrology; avoid placing impervious cover over drainage paths. Slope finished grades away from structures at 2-5% minimum. If the site is naturally wet or has high groundwater, consider perforated pipe or French drain systems before backfilling. Safety and proper drainage prevent costly failures and project delays.